How to Measure Roman Blinds
How to Measure for Roman Blinds
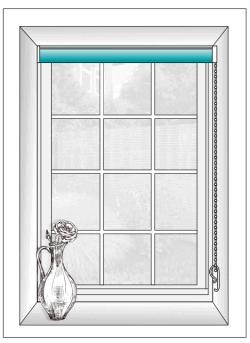
Standard Windows
-
Roman Blinds
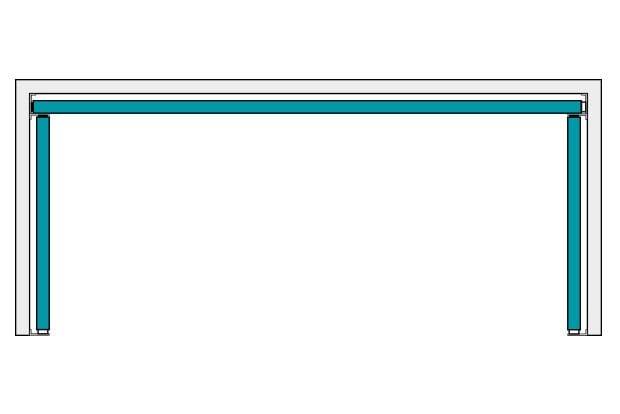
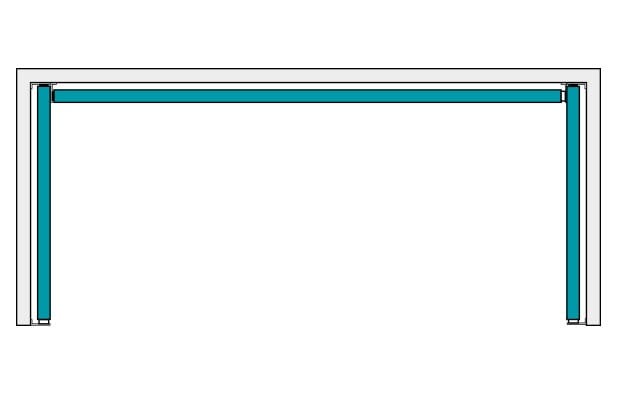
Inside the recess - Recess fit blinds
Now, you can’t mess this one up. It’s what we call ‘easy’ here at DotcomBlinds. But just in case you need some help, follow this quick guide.
A recess fit blind means you supply us with the width and drop of your recess – from top to bottom and wall to wall. We make the industry-standard 10-12mm deductions on the width to account for the recess and to ensure your blind fits within the recess perfectly. We also deduct 8-10mm from the drop to ensure the blind sits slightly above the window sill when fully extended. If you wish for your blind to reach fully down to the window sill please add 10mm to your final drop measurement when choosing 'recess' on the website. This negates the deductions we will make.
To measure a roman blind to fit inside the recess of your standard window, simply measure the full width and the height of the recess. Then input those measurements into the product page with your order selecting the ‘recess’ option. We’ll do the rest, leaving you the well-deserved excuse to put your feet up, you worked hard for it after all!
Don’t be tempted to deduct any measurements, we do this for you. Make sure you use a metal tape measure; a cloth one can stretch and give you more millimetres per centimetre than a pound-shop ruler. Also, take your measurements in three places and give us the smallest (if there is a smallest). You will find that some recesses shift and settle over time.
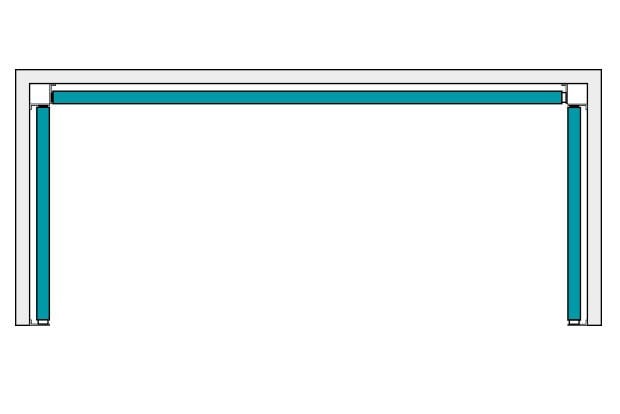
Outside the recess - Exact fit blinds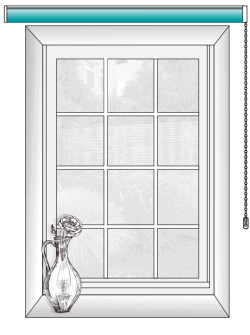
An exact fit blind means we won’t make any deductions to the width or drop measurements. Exact fit is the bracket to bracket measurement and is commonly found installed outside of a recess. The size you give us is the size your blind is made to.
If you want your blind to hang outside the recess, measure the height and width but be sure to add some overlap to reduce light leakage. This overlap should be about 70mm at the top and bottom and 50mm each side, ensuring you suffer no dazzling strips of sunlight once your blind is happily installed. Please select the ‘exact’ size option when ordering.
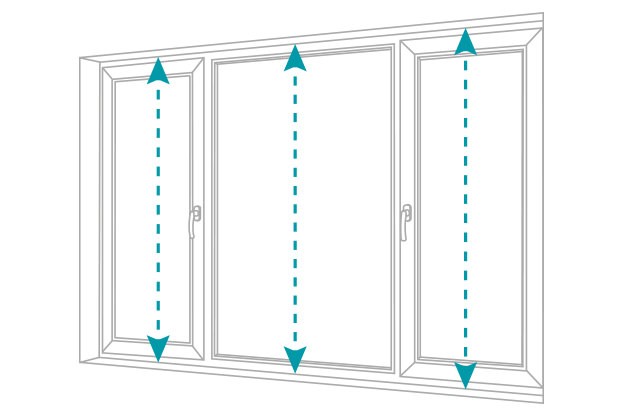
A standard window is the easiest to measure for a roman blind as it has no angles or changes to the shape inside or outside of the recess.
Angled Bay
-
Roman Blinds
An angled bay window is the name given when windows join at an angle in a bay window. Angled Bay Windows often have a minimum of 3 windows, but they can have many more. Naturally, the more windows the more rounded the bay window looks. Don't be intimidated by an angled bay window when you come to measure for Roman Blinds. Read the simple instructions and tackle the project head on – it’s easier than you think!
Steps:
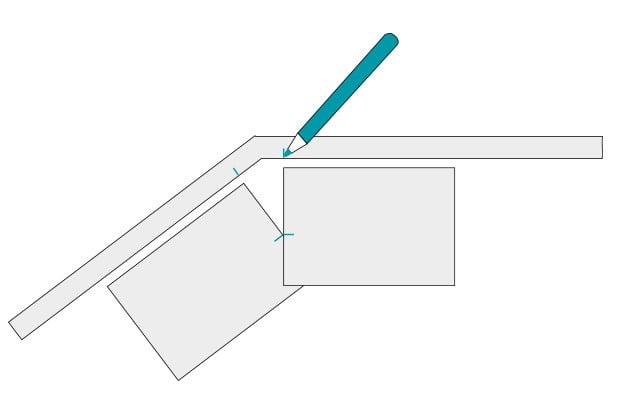
- Step 1: First, you need to measure the blind’s protrusion. This is to find out how far the blind needs to be away from the window. A roman blind’s brackets protrude by approximately 40mm. Take a look at the window and check for any window handles or vents or anything else sticking out that would catch the blind on its way up or down. Measure how far these protrude and add it to the bracket protrusion. This figure is called P (see, that GCSE in algebra did come in handy!).
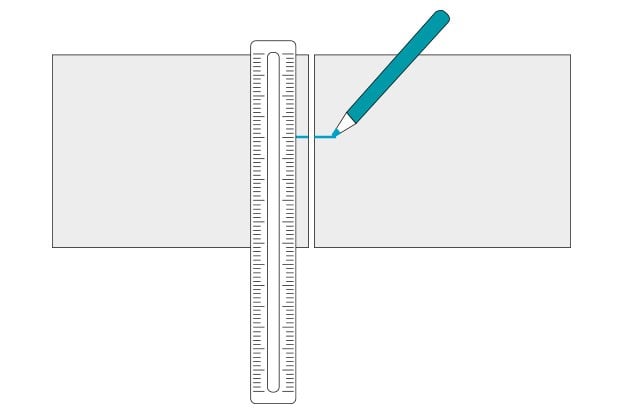
- Step 2: Using a ruler, place two pieces of card edge-to-edge and measure the blind’s protrusion (P). Draw a line on both to indicate this.
- Step 3: Here’s the clever part: slide the paper towards each other on the windowsill, heading into a corner. Keep the edges flat against the sill. When the two protrusion marks meet, stop.
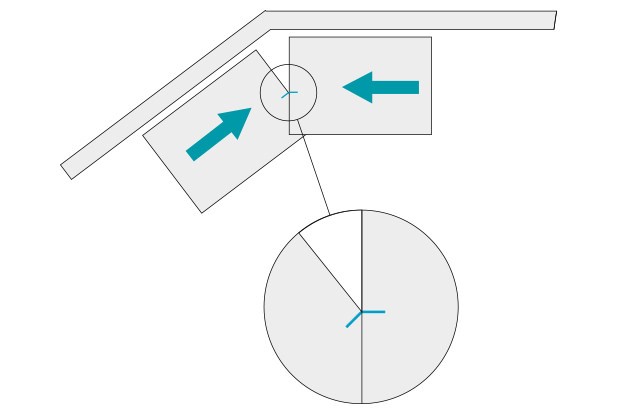
- Step 4: Grab your pencil again and mark on the windowsill the point where the lines meet. Do this for any other angled parts of the bay window.
- Step 5: Measure across from one mark to the next, going from closest line to the next closest line, this will show you the width of the blind that you will need to order from us.
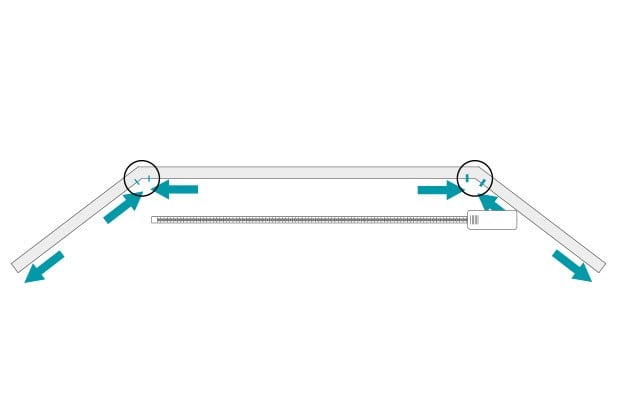
- Step 6: Measure from the drop (listed on our website’s product specifications) to where you want the blind to end, which will most likely be your windowsill.
- Step 7: Now, armed with these measurements, you’re ready to order your blind! Enter them into the product page and proceed to the checkout! Finally, go make yourself a celebratory cup of tea, you’ve just found the size of the blind you need for your angled bay window.
An angled bay window is a bay window that has the windows joining at an angle, which need to be accounted for when measuring for blinds.
Box Bay
-
Roman Blinds
Before we start, you will need to make one of the following deductions from your measurements BEFORE you enter them into our website and buy your blind. For box bay window blinds, DotcomBlinds WILL NOT make deductions once we receive the order.
If you are planning to top fix the blind then you will need to deduct 55mm off of each blind’s measurements. If you want to face fix your blind then you will need to deduct 40mm from each blind’s final measurements.
Please take your measurements in three places because bay windows are renowned for movement, and widths can vary.
First things first, choose which kind of blind fitter you are: Rookie, Professional or Maverick? Depending on which blind fitter you are defines how you measure and fit your blind.
Rookie:
- You don’t want to set the world on fire, you just want to fit the blind, and we hear you loud and clear! This is the most common and simplest ways of installing roman blinds in a box bay window, so listen up.
- The blind is going to run across the front, almost corner to corner, with the side blinds butted up to the front blind. Simply measure the full width of the bay window and then measure the sides in the same way. Deduct the bracket allowance for both side blinds, which makes space for the blind at the front. Head back to the top of this guide to find out which measurement to deduct based on the way you plan to fit the blind.
- That is all you need to do, so put your feet up and enjoy the view from your box bay window, that roman blind you just ordered will be arriving within three-to-five working days, and then you’ll be proudly staring at your handiwork.
Professional:
- Always pushing your DIY limits and pursuing perfection, you’ll enjoy fitting blinds in your box bay window the professional way.
- Firstly, make sure this will work for your window. Measure from the corner of the bay to the start of the glass pane on both sides, and if either measurement is less than 70mm, then sorry buster, you’ll have to sit this dance out – you run the risk of not quite covering all of the glass.
- The aim of this method is to leave a square void in the corners so that the blinds meet in the corners but don’t overlap. Measure all three sections directly into the corners, deduct the bracket allowance measurement from each blind (double for the bracket allowance measurement for the front blind). You will find the bracket measurements at the top of this guide.
- Now, with that task in hand isn’t there a bookshelf you need to hang?
Maverick:
- You’re unconventional, you don’t do DIY by the book, you want your fitted blinds to reflect your unique nature. Or, you simply have very small side windows in your box bay window and you’ve chosen this option out of practicality. Welcome all.
- With small side windows, you can often be left with a measurement (after the bracket allowance deductions) that is smaller than we’re able to make a roman blind. This option allows you to continue the side blinds into the corner with the front blind sitting between them. Measure the side blinds into the corner. Then measure the front from corner to corner, but deduct the bracket allowance (don’t forget to double the bracket allowance for the front blind before you deduct) from the width. You’ll find the bracket allowance at the top of this guide. Job done.
A box bay window is a three-sided bay window that sees the blinds join at right angles to each other.